Instructions for creating a feature wall may change a room and provide a remarkable focal point, adding style and individuality. Making a feature wall is a simple and satisfying do-it-yourself project, whether your goal is to accentuate a piece of art, a toasty fireplace, or just a bit of color. Design a highlight wall in your room with these detailed, step-by-step directions.
Step 1: Select the wall. Instructions for creating a feature wall
Selecting the appropriate wall comes first in building a feature wall. Search for a wall in the room that either naturally grabs attention or is central. Typical choices abound:
Right behind the bedroom bed
The wall running opposite the room’s entrance
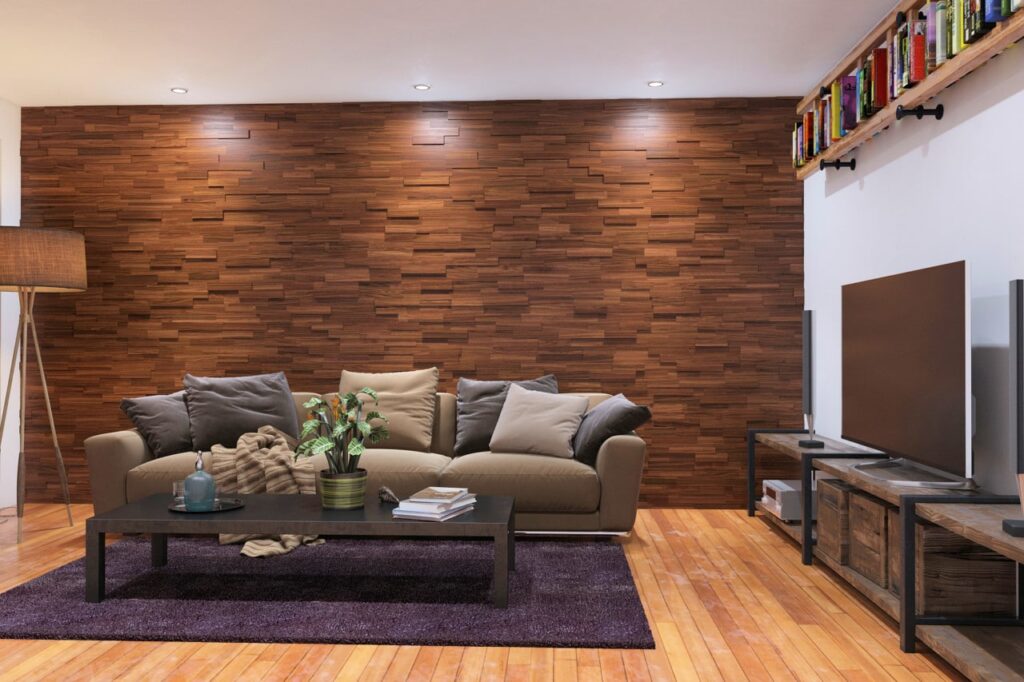
In the living room beside a TV or fireplace
Make sure the wall you choose is free of too many windows, doorways, or obstructions that would take attention away from the centerpiece of your design.
Step 2: This step is to choose the kind of feature wall to use
There are various ways you might create your feature wall. Here are some ideas:
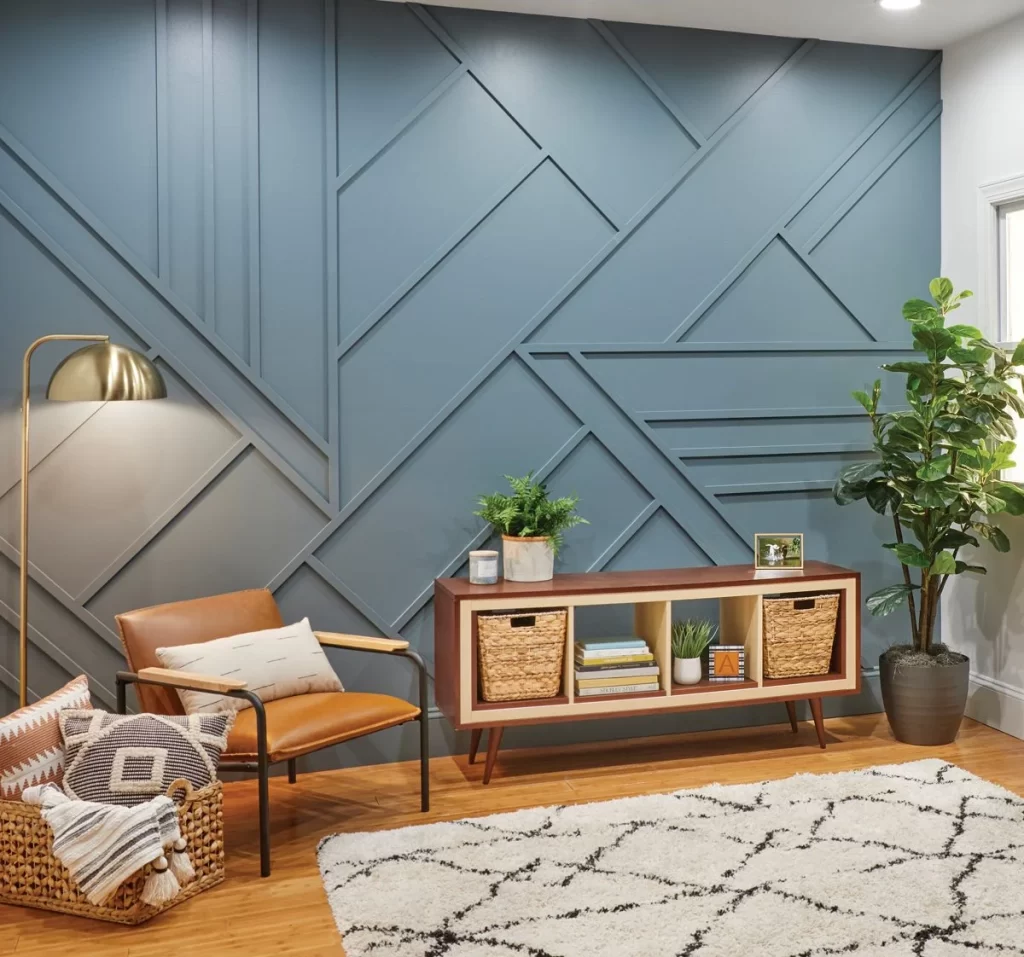
Bold Colour: The space can be highlighted and drama added by a solid, opposing colour.
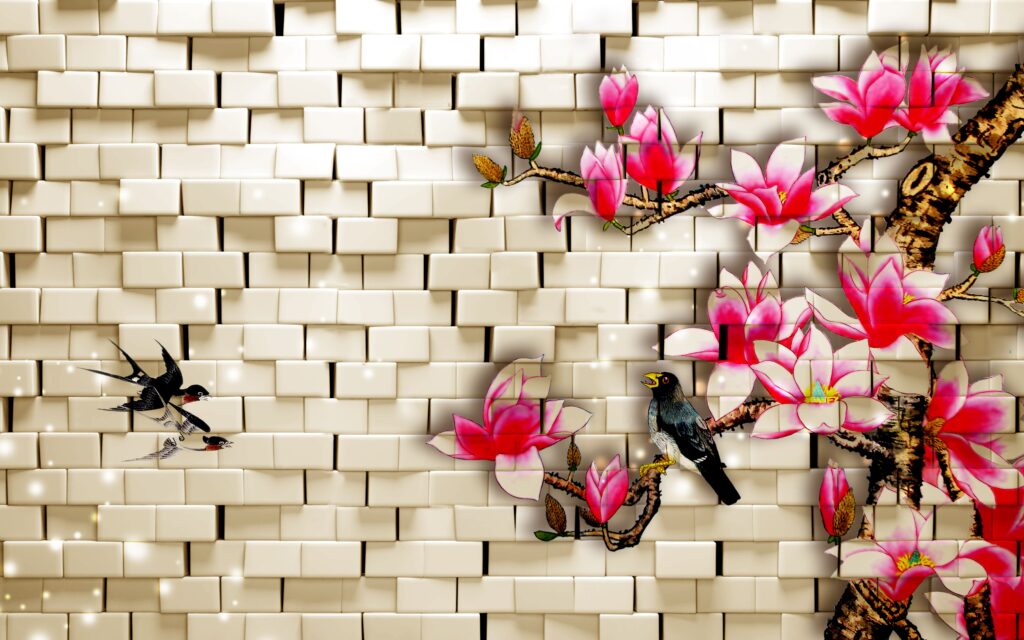
To include style and texture, choose patterned wallpaper.
Depending on the finish, wood paneling can exude either modern or rustic energy.
Gallery walls are collections of mirrors, pictures, or artwork.
In a bathroom or kitchen, strong color or pattern tiles can provide a striking focal point.
Choose a style that accentuates the décor in your space and your own taste.
Step 3: Instructions for creating a feature wall: Arrange the space.
You will have to get the wall ready once you have chosen it:
Empty the area around the wall of décor or furnishings.
Fill any wall flaws or holes, then sand them smooth.
Particularly if you are painting or installing wallpaper, clean the wall to guarantee no dust, filth, or grease.
A perfect finish depends on this last stage.

Step 4: Plan and measure your design.
Before beginning an even and balanced feature wall, precisely measure the area. Measure the wall to estimate how much paint or wallpaper you will need. Mark the areas where objects will be arranged, whether you intend to put wood panels or a gallery wall:
Check straight alignment by using a level.
Mark the sites lightly with a pencil.
This stage will guarantee your design seems polished and businesslike.
Step 5: Instructions for creating a feature wall to implement the design.
Your chosen design will guide you as follows:
Regarding paint: If necessary, start with a primer using an accent color or bright tone. For broad areas, use a roller; for corners or edges, use a brush.
Apply the paint in thin, equal layers; let each coat dry totally before adding the next.
Regarding wallpapers: Cut wallpaper panels to fit your measurements exactly.
To the wall or back of the wallpaper, apply adhesive—if non-peel-and-stick wallpaper.
Starting from the wall’s edge, align the wallpaper such that any air bubbles are flattened as you work. For every panel, repeat, making sure seams match.
Regarding Wood Paneling: Measure the width and length of every wood panel you use to ensure they cleanly fit against the wall.
Starting from the bottom and working your way up, glue or nail the panels. As you work, be sure every panel is level.
Regarding gallery walls: To determine the ideal arrangement, arrange your images or artwork on the floor first, then hang them.
Hang each piece using picture hooks or nails to provide a visually balanced arrangement.
About Tiles: Starting at the wall’s center, work outward to guarantee a symmetrical design when putting tiles.
Securing each tile with a tile adhesive leaves little space for grout. Apply the grout and level it over the tiles once the adhesive has set.
Step 6: Add last details.
Add finishing details to finalize the look once the major design is under way:
If using paint or wallpaper, trim around the edges for a polished look.
Correct any spots that might call for more care.
Plan ornamental accents to accentuate the focal wall—such as furniture, plants, or artwork.
Step 7: Love Your Feature Wall
Back off and let others appreciate your work! A feature wall may make a room feel new, modern, and unique, therefore transforming its vibe. Once it’s finished, your feature wall will be the center of attention in the room and a talking tool.
In essence
One simple and effective approach to improve the appearance of any area is building a feature wall. Whether your preference is for a gorgeous gallery wall, textured wallpaper, or strong colors, the procedure is easy and lets tons of creativity flow. These detailed directions will help you create a magnificent feature wall that transforms your room.